Using Your Suggestions to Improve the Miter Saw Station
Description
I upgraded the Miter Saw Station based on your comments!
Subscribe to my channel: http://bit.ly/1k8msFr
Second Channel: http://bit.ly/iltms-2
MORE PROJECTS, POSTS AND EVENTS
http://www.iliketomakestuff.com
TOOLS & SUPPLIES:
https://kit.com/iliketomakestuff/my-woodworking-tools
https://kit.com/iliketomakestuff/shop-safety-gear
Twitch Stream Every Wednesday @ 11am EST: www.twitch.tv/iliketomakestuff
Want to support ILTMS? Get exclusive content and more...
http://www.iliketomakestuff.com/patreon
I WROTE A BOOK!
http://www.iliketomakestuff.com/makingtime
BUY A SHIRT, STICKER, DIGITAL PLANS and MORE!!
http://www.iliketomakestuff.com/store
FOLLOW:
http://twitter.com/iliketomakestuf
http://www.twitch.tv/iliketomakestuff
http://instagram.com/iliketomakestuff
http://facebook.com/iltms
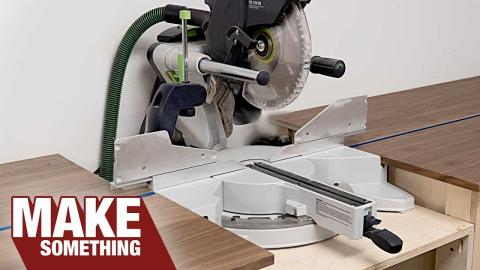
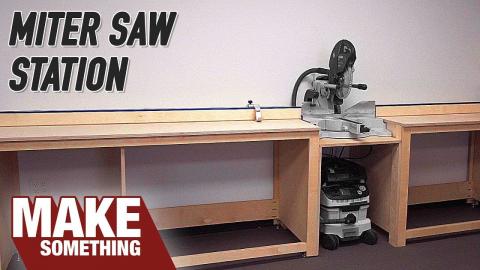
Recently I made a dedicated work station for my miter saw. It was intentionally simple and left a lot of room for upgrades and modifications. After I posted that video, many of you had some really great ideas on how to improve it. Someone in the comments noted that the original dust shroud didn't allow the saw to make compound miter cuts, I don't often do these cuts, but it did seem like an unnecessary limitation I placed on myself. To allow the saw to lean over a full 45 degrees and pivot the same amount, I had to widen the center section that the saw sat on. And to help with the dust shroud issue, I made the front magnetic so that when I need to make a compound cut I can snap the face on and off.
I also read that I should have some type of grate or slats to catch larger off-cut pieces that may get sucked up by the dust collector hoses. I had some spare metal mesh that I cut to match the dust port openings and screwed them in from the bottom. This addition really helped keep the little corner cuts from rattling around in my dust collector.
A simple and effective comment someone made was that the stop blocks should have a miter cut into the area that contacts the corner of the table. Because the table and the stops were both 90 degrees, dust can get stuck and cause binding. I solved this by taking the stops over to the belt sander and adding the chamfer. This can also be done with a router or a table saw quite easily.
One thing someone noted, which I had planned to do on the first iteration, was to add some type of measuring tape to the table. I found that Kregg makes an adhesive-backed metal measuring tape. This tape comes in two variations, one that can be read from left to right, and one right to left. I stuck the tapes on each side of the saw making sure to line up the teeth of the blade with the zero mark.
Lastly, I wanted to use the empty space on either side of the side housing for additional storage. A while ago, I made a simple shelf for some parts containers and I've always wanted more of them. I built some more shelves in the same style using 1/2 inch and 3/4 inch plywood and mounted them next to the saw. I got more containers and I'm slowly filling them with essential hardware.
Thank you to everyone for commenting on the last video. Those suggestions really helped improve the functionality and performance of this simple tool station. And for all those that may have been surprised, yes I do read all the comments, and as you can see they can be really helpful. If you liked this project revisit, check out more projects from around the shop!


