Turning an Attic into a Closet/Playroom
Description
I converted some extra attic space into a closet & playroom!
This video was sponsored by Energizer, check out their line of headlamps and flashlights at http://www.energizer.com/lighting
Subscribe to my channel: http://bit.ly/1k8msFr
Second Channel: http://bit.ly/iltms-2
MORE PROJECTS, POSTS AND EVENTS
http://www.iliketomakestuff.com
TOOLS & SUPPLIES (affiliate links):
https://kit.com/iliketomakestuff/closet-custom-doors
https://kit.com/iliketomakestuff/my-woodworking-tools
https://kit.com/iliketomakestuff/shop-safety-gear
Twitch Stream Every Wednesday @ 11am EST: www.twitch.tv/iliketomakestuff
I WROTE A BOOK!!
http://www.iliketomakestuff.com/makingtime
Want to support ILTMS? Get exclusive content and more...
http://www.iliketomakestuff.com/patreon
BUY A SHIRT, STICKER, NOTEBOOK, DIGITAL PLANS and MORE!!
http://www.iliketomakestuff.com/store
FOLLOW:
http://twitter.com/iliketomakestuf
http://www.twitch.tv/iliketomakestuff
http://instagram.com/iliketomakestuff
http://facebook.com/iltms
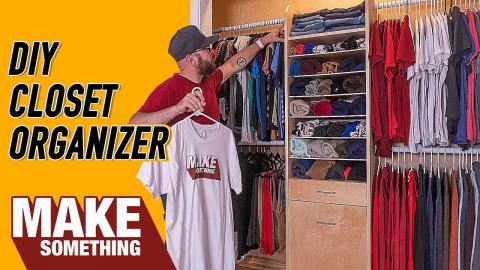
Technically, my house is listed as a 2-bedroom because the huge room upstairs that my boys live in doesn't have a closet. My grandad used that room as his art studio and not as a living space. So, besides adding some space for extra clothes, I am going to increase the value of our home by turning this area into a code-compliant bedroom.
My boys' room is upstairs and the roofs are angled inward. The space behind the pitched roofs is all attic space. This empty space allows us to build into it so we can add the new closet. If you remember the bunk beds we built earlier in this year, you'd see that the wall we are building into also supports the top bunk of one of the beds. Having this as a design constraint, we are going to knock out the rest of that wall leaving the opening for the closet. Excitingly enough, the attic space behind the bunk bed is usable and will connect to the new closet giving the kids an extra playroom.
Because this extra attic space is triangular, I wanted to bring some definition to the new closet. I framed out a small knee wall that would become the back of the closet. So that I didn't entirely block off the rest of the attic, I also framed in an access doorway in the pitched rafters.
To create a space for the closet opening, I had to remove a row of wall studs. Because this wall supported the rafters above it, I had to add a header above the space to support the weight. I laminated some boards together, wedged them at the top of the planned opening, and supported it with two jack studs. all of these new supports were nailed into place. Now, instead of looking at the back of a framed wall, we were now left with a big square of unsupported drywall.
Now then, to block a lot of this heat from getting into the closet space and affecting he temperature of the room, I had to add a bunch of insulation. I used R13 pink fiberglass insulation stapled between the studs and the rafters. Where the fiberglass wouldn't work, I sprayed in some high-expansion foam to seal up all of the remaining gaps from the rest of the attic.
This step seems pretty self-explanatory. But I was waiting to open up the space until we had semi-safe area. I didn't want to open up a potentially-dangerous job site to my boys' room for them to wander into when I wasn't around. Before we smashed the wall down, I scored the area around the opening with a utility knife so that the drywall would blowout and ruin the parts that would remain.
But now is the time! I gathered the kids and we smashed through the wall together! It was pretty fun. Scoring the wall really helped the drywall break into manageable chucks for easy disposal and there wasn't a huge mess to clean up.
For this project, I tried to avoid it at all costs but the reality of a finished closet/playroom without drywall wouldn't have worked. In the video, I didn't go into detail about putting up drywall, there are plenty of resources to help with that terrible process. I did eventually finish the drywall and my wife gave it a few coats of paint.
In a regular closet, you can attach little cups to either parallel wall to hold a long rod. In our case, the bracket would have to attach the the pitched ceiling and hold a rod down from it. The easiest solution we found was to get two simple 90-degree metal brackets, attach them to the angled ceiling, and add a large wooden dowel to the hanging ends. This solution worked really well and by cutting a slot into the dowel and inserting the metal bracket, it kept the kids from hitting their heads on an exposed metal corner.
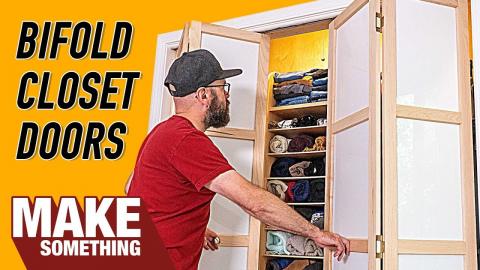
This project was a big one. It had a lot of challenges and a lot project considerations. If you have a big construction project like this, you have to consider all of the hard parts and the tedious pieces before you can smash things and pick paint colors. Also, I am making some bi-fold doors for the closet, so look out for those as well.


