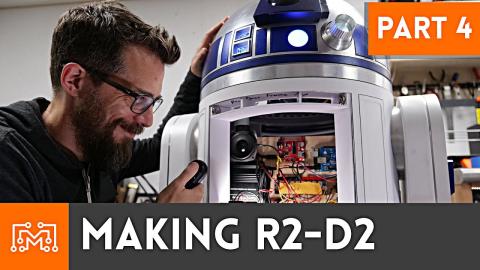
Making R2-D2 Part 3
Description
In this third episode of Making R2-D2, we add lighting to the dome, finish his legs, and correct the problems we had with the chipping paint. If you haven't seen the rest of the Making R2-D2 series, find them at https://www.youtube.com/playlist?list=PLice_sU_6RfiVtYKIppvWIMdw5HFoKEfb
Subscribe to my channel: http://bit.ly/1k8msFr
Second Channel: http://bit.ly/iltms-2
R2-D2 PLAYLIST: https://www.youtube.com/playlist?list=PLice_sU_6RfiVtYKIppvWIMdw5HFoKEfb
MORE PROJECTS, POSTS AND EVENTS
http://www.iliketomakestuff.com
TOOLS & SUPPLIES (affiliate links):
R2-D2 Parts: https://www.worrparts.com/
Also: https://renev.biz/category/droids/lifesize-droids/r2-droid-parts/r2-droid-parts-available/
R2-D2 3d Printing Files: https://www.patreon.com/mrbaddeley
Catalyzed Clear Coat: https://www.amazon.com/dp/B0178ABUVM?tag=ilik-20
https://kit.com/iliketomakestuff/my-woodworking-tools
https://kit.com/iliketomakestuff/shop-safety-gear
I WROTE A BOOK!!
http://www.iliketomakestuff.com/makingtime
Want to support ILTMS? Get exclusive content and more...
http://www.iliketomakestuff.com/patreon
BUY A SHIRT, STICKER, NOTEBOOK, DIGITAL PLANS and MORE!!
http://www.iliketomakestuff.com/store
FOLLOW:
http://twitter.com/iliketomakestuf
http://www.twitch.tv/iliketomakestuff
http://instagram.com/iliketomakestuff
http://facebook.com/iltms
MUSIC: http://share.epidemicsound.com/iltms
In this third installment of the Making R2-D2 series, he's getting legs, beautiful blue panels, and lights in the dome! Come see us make noticeable changes progress on this lengthy project of making our own working R2-D2 droid.
Because of the piece-by-piece nature of this marathon build, it is challenging to make a detailed explanation about each step. Mostly, I am following the collections of guides that are available on astromech.org. Building your own R2 unit is extremely personal, and as we explained in Part 1, there are many ways to build it. That being said, I have found comfort in the fact that many design packages, meant for different materials, are all based on the same general dimensions.
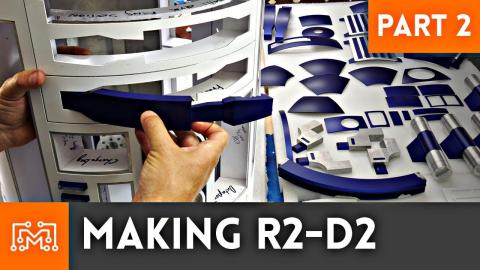
In this video, I focused on making the legs. The legs are very complex and heavily detailed with a mixture of white, blue, and metal components. If you remember, in previous builds we completed the leg structures out of styrene cut on the CNC. In this part I finished painting those structures, painted the blue, 3d printed booster covers, and attached the beautifully machined aluminum accents that I purchased from different vendors on astromech.org. I was then able to mount the legs to the body with some bolts and nylon locknuts. I haven't yet made the ankles/rolling feet, that will be in an upcoming video, but I did run the wiring for the drive motors through the legs.
In the last video, I mentioned having trouble keeping the blue paint and the clear coating from chipping. I'm not sure if it is an improper balance in the primer, paint, and clear coating combination, but it flakes off very easily at the edges. Someone responded on Twitter that I should look into catalyzed clear coat. It is a rattle can with a two-part mixture built in. You remove the red button from the top, puncture aa seal in the bottom and the can mixes the coating together. You only have a few hours to use the coating, so I repainted each chipped piece and lined them up in the paint booth for sealing. The catalyzed coating worked perfectly, and the static panels were ready to install.
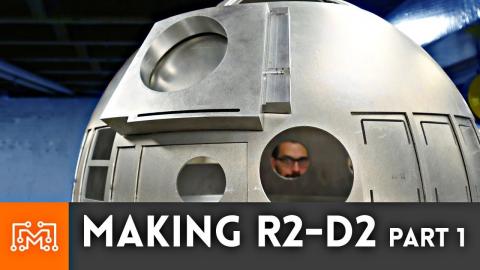
Now that the blue panels were painted and sealed, I could use some E6000 adhesive to glue the static panels to R2-D2's dome. I used some painter's tape to hold each panel in place while the glue dried, and you could really get a sense of personality that was being added to the shiny metallic dome. Once those were dry, I could cut down the painted plastic orb and fix it in place inside the "eye" cavity. I used the same adhesive to mount the eye to the dome and it really brought R2 to life.
A vendor on astromech.org was selling the hollo-projector lens kits, the dome has three of them, that I purchased. They are beautifully machined parts that rotate, have the lens installed, and even come with the servo mounts that control the projectors' movement. I installed these pieces into the pre-cut areas on the dome, out of order actually, and they all eventually fit into place and moved freely.
When making an R2-d2 the lights, motors, and sounds really bring home the feeling of a dynamic and active droid. I was now at the step when I could add the lights inside the dome. I, once again, used astromech.org to source a lighting kit that was already wired and programmed. The kit was prepared perfectly so all I had to do was glue the faceplates into the cavities and screw in the LED panels into them. I powered up the system using a battery pack and watched R2-D2 wake up and come to life. It was amazing.
Check out the playlist of previous videos to see how we got to where we are now!


