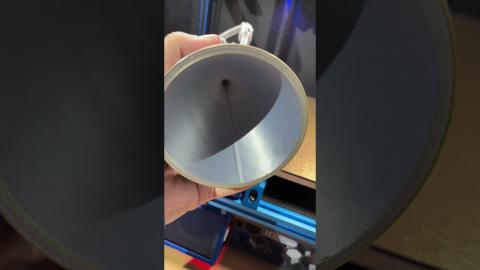
How to Make an Air-Powered Rocket Launcher
Description
We made an air-powered launcher for our paper rockets!
Sponsored by Skillshare - http://skl.sh/make
First 1000 people get their first 2 months for $0.99
Subscribe to my channel: http://bit.ly/1k8msFr
Second Channel: http://bit.ly/iltms-2
MORE PROJECTS, POSTS AND EVENTS
http://www.iliketomakestuff.com
PAPER ROCKET TEMPLATE
http://ilt.ms/links/rocket_template.pdf
TOOLS & SUPPLIES (affiliate links):
https://kit.com/iliketomakestuff/air-powered-rocket-launcher
https://kit.com/iliketomakestuff/shop-safety-gear
Twitch Stream Every Wednesday @ 11am EST: www.twitch.tv/iliketomakestuff
I WROTE A BOOK!!
http://www.iliketomakestuff.com/makingtime
Want to support ILTMS? Get exclusive content and more...
http://www.iliketomakestuff.com/patreon
BUY A SHIRT, STICKER, DIGITAL PLANS and MORE!!
http://www.iliketomakestuff.com/store
FOLLOW:
http://twitter.com/iliketomakestuf
http://www.twitch.tv/iliketomakestuff
http://instagram.com/iliketomakestuff
http://facebook.com/iltms
My kids and I attended a local Maker Faire recently, and while there we got to shoot some paper rockets with a pneumatic launcher. It was super fun, so we decided to make one of our very own!
This project was basically the same as the pudding gun, so I went to the home center and bought some PVC pipe and joints to make the launcher's structure. I wanted the base to stand up while being small and compact, so I cut smaller sections and snaked them together with some 90 degree unions to form the air chamber. I salvaged the electric solenoid valve from the pudding gun and connected it to the chamber using a threaded adapter and some teflon tape. A smaller piece of PVC pipe extended out the other side of the valve to make the barrel that would hold the paper rockets. Rather than being CO2 powered, I used a shrader valve, like you'd find on most tires, and added air with a bike pump.
After some initial testing, we found that the volume of air in the chamber wasn't that great and our rockets weren't flying as high as we'd expected. So, we went bigger...much bigger. Josh made a pneumatic air cannon in college, so I sent him to the store to get some upgraded components. He came back with a 24 volt sprinkler valve that would attach to a 4 inch PVC chamber, nearly quadrupling the volume of air capacity. We used the barrel from the smaller version that held the rockets and glued in some adapters to match the new, larger pieces.
Because the new valve ran on 24 volts and because we wanted this launch site to be portable, I rigged up 3, 9 volt batteries connected together to make 27 volts. This was enough power to operate the air valve so I spliced in a huge "blast off" button that would send the rockets to the heavens.
After some pretty impressive test fires, I had the kids make up a batch of rockets and it was launch time! The kids and I had a blast pumping up and firing the rockets. It was a great way to introduce kids to rocketry and physics-based concepts and I'm so happy I made a version of my own. If you liked this STEAM-based project, check out more of my work!


