How to Make a Modern Writing Desk
Description
I batched out 3 copies of a simple, modern writing desk for my boys!
Thanks to FilterBuy.com for sponsoring this video, check them out at https://filterbuy.com/air-filter-sizes
Subscribe to my channel: http://bit.ly/1k8msFr
Second Channel: http://bit.ly/iltms-2
MORE PROJECTS, POSTS AND EVENTS
http://www.iliketomakestuff.com
DESK PLANS:
https://www.iliketomakestuff.com/modern-writing-desk-digital-plans/
TOOLS & SUPPLIES (affiliate links):
https://kit.com/iliketomakestuff/my-woodworking-tools
https://kit.com/iliketomakestuff/shop-safety-gear
Twitch Stream Every Wednesday @ 3pm EST: www.twitch.tv/iliketomakestuff
I WROTE A BOOK!!
http://www.iliketomakestuff.com/makingtime
Want to support ILTMS? Get exclusive content and more...
http://www.iliketomakestuff.com/patreon
BUY A SHIRT, STICKER, NOTEBOOK, DIGITAL PLANS and MORE!!
http://www.iliketomakestuff.com/store
FOLLOW:
http://twitter.com/iliketomakestuf
http://www.twitch.tv/iliketomakestuff
http://instagram.com/iliketomakestuff
http://facebook.com/iltms
MUSIC: http://share.epidemicsound.com/iltms
Because I have to make three writing desks, I want to use no more than a single sheet of plywood per desk. I plan on making a modern and sleek design and batching out the desk components to maximize my time. Using a combination of my circular saw and the table saw to cut the rectangular pieces for the desk boxes, I made sure to cut all of the pieces that were the same width at same time so I didn't have to move the table saw fence.
Batching work like this is a great idea when you have multiple pieces to make, but be sure you keep measurements consistent by cutting like pieces together. I also cut all of the strips that will eventually become the leg assemblies.
After I cut the strips of plywood to a rough length, I began cutting the angled pieces on the miter saw. The legs were made of double-stacked plywood connected at some modern-looking angles. I set the saw to ten degrees and followed my plans for each specific geometric piece. After all of the pieces were cut, I began gluing and nailing the parts together.
I made sure to glue up the leg assemblies in a mirror pattern because each desk had a specific left and right leg. Because there were six assemblies altogether, I had to pay extra attention to these little details. I filled all of the tiny nail holes with wood filler and sanded them smooth.
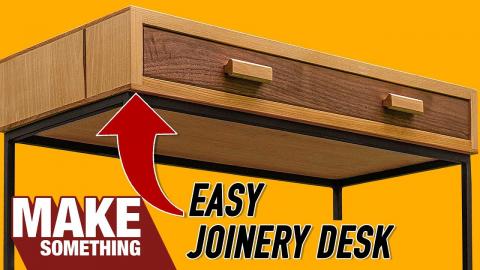
For the desk itself, I wanted a really simple rectangular box with a single drawer. I cut 45 degree miters on each side and glued them together using corner clamps. For the drawer divider, you can totally add a dado slot to the top and bottom surfaces, but I just slid the divider in place, glued it, and secured the desk together with screws.
During this step, I also made three drawer boxes, one per desk. It was a simple design, four panels with small dado grooves cut into one side, butt jointed together. The drawer bottoms were thin sheets of luan glued into the small grooves. I glued all of the drawer walls together and secured them with brad nails.
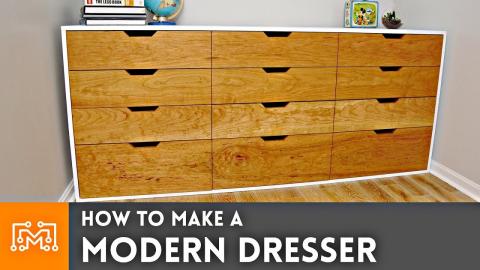
I attached some drawer slides to the desk boxes and to the drawers, but made sure to mount them 3/4 of an inch from the desk face to leave room for the decorative drawer face. To carry over the design form the boys' dresser, I used some offset pieces of cherry from that project. I mirrored the same handle cutout and notched them into the desk drawer fronts.
At this point, I have two leg assemblies and a desk box with a drawer. The modern design and simple lines allows you to be really creative with the aesthetic. You could paint the legs or the desk or add a unique material to the drawer; whatever you'd like. I chose to keep the wood color throughout but thought there was a bit too much exposed plywood. I decided to apply edge banding to the desk box but keep the plies on the legs. Edge Banding is super simple to iron on and trim off, and makes your plywood project look like solid wood.
If you wanted to paint any of the desk, I would recommend doing so before assembly. This desk has some nooks and crannies, so painting everything before putting it together would make life a little easier. With my edge banding in place, I used a few coats of wipe-on polyurethane to add a layer of protection.
The leg assemblies have a plywood ledge built into it to support the desk box, so I applied glue to the inside surface, set the desk in place, and shot in some brad nails. I made sure to align the back of the desk with the back of the legs. I did notice; however, that when we put the desks in place, the legs butt up against the baseboards, and because the desk box was flush with the legs there was a gap behind the desk. When you glue up desk, you can set the desk box back a bit to avoid this gap.


