Adding Storage To Any Bed // Woodworking
Description
Let us show you how to add storage to almost any bed with this simple drawer system.
Check out our digital plans library and 1-on-1 3d modeling course at https://iliketomakestuff.com
Subscribe to my channel: http://bit.ly/1k8msFr
Second Channel: http://bit.ly/iltms-2
MORE PROJECTS, POSTS AND EVENTS
http://www.iliketomakestuff.com
TOOLS & SUPPLIES WE USED(affiliate links):
https://kit.co/iliketomakestuff/my-woodworking-tools
https://kit.co/iliketomakestuff/shop-safety-gear
Soft-Close Drawer Slides: https://amzn.to/3l0e5ME
WANT TO LEARN FUSION 360?
We made an online course called "Fusion 360 for Makers"
https://ilt.ms/fusion
I WROTE A BOOK!!
http://www.iliketomakestuff.com/makingtime
Want to support ILTMS? Get exclusive content and more...
http://www.iliketomakestuff.com/patreon
BUY A SHIRT, STICKER, NOTEBOOK, DIGITAL PLANS and MORE!!
http://www.iliketomakestuff.com/store
FOLLOW:
http://twitter.com/iliketomakestuf
http://www.twitch.tv/iliketomakestuff
http://instagram.com/iliketomakestuff
http://facebook.com/iltms
MUSIC: http://share.epidemicsound.com/iltms
As the title suggests, you can add a drawer-based storage system to any bed that has open room underneath. The trick is to make sure that you are building this solution to fit your bed. While we do have plans for the Modern Canopy Bed in all sizes, they don't include this drawer unit. The point being that you can make this style of drop-in drawer system no matter what size or style bed you have. The important thing to consider is the space under your bed and building the unit around that.
When it comes to space under a bed, there really is no set of guidelines to go off of. Unlike other pieces of furniture like writing desks or dining room tables, bed frames don't have recommended height dimensions. With this in mind, you have to consider what you want to store in these drawers. Some may have enough room to be a full dresser replacement, while other may only fit linens or blankets.
You must also consider how the storage unit will be attached to the bed, if at all. In our case, the drawer system can be screwed into the sides of the headboard and footboard for stability. Some alternative may be adding free-floating drawers on casters or furniture pads that can slide out independently.
Armed with the bed's measurements, I designed a structure to hold the drawers in Fusion 360. If you're interested in making your own custom designs, we offer a 1-on-1 online 3d modeling course called Fusion 360 For Makers. This structure will add dividing walls between the three drawers while raising the drawers off the ground and adding structural strength to the system. I cut down plywood panels for the bottom stringers, a back support and the dividing walls and connected them all with pocket screws and wood glue.
At this point I can add some drawer slides to each dividing wall for the three drawers. The trick with attaching drawer slides is that they need to be affixed consistently and parallel with the bottom supports. You can use a spacer set on top of the bottom stringers, our you can set the slides on the stringers, either way will work. I chose soft-closing drawer slides like I do for most of my furniture projects. Anyone with kids knows that soft-closing hardware is a wise investment. After a dry fit of the structure under the bed, I can start on the drawers and drawer faces themselves.
Typically, I like to have a plan and cut list before I begin each project. But for these drawers, I'm waiting until the structure is complete and the drawer slides are installed. I measured each opening for the openings and built the drawer boxes to fit. Once all six drawer boxes were cut, glued, and brad nailed together, I set them on a riser and connected the drawer slides.
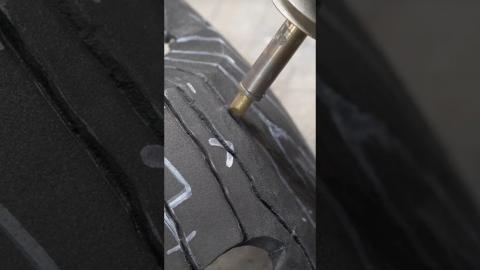
Now that the drawer boxes are installed, I could focus on the drawer faces. I cut down a long section of plywood that matches the canopy bed into three panels. This way, I could match the grain pattern on each of the three faces. To match the minimalistic style of the canopy bed, we chose to leave off any exposed hardware. I used my router and a rounded bit to add a scallop to the underside of each face. After cutting the faces to a length that left 1/8" (3mm) between them all, I could add edge banding and screw them to the drawer boxes.
The drawer units are now ready to be installed under the bed frame. In the video, I removed the mattress and the bed slats to install the drawer units. Depending on your bed and your initial measurements, this may be necessary. You can now secure the unit to the bed, but first you need to determine the reveal or where it should be positioned. We set the drawer unit back 1/2" (12.5mm) and used screws to attach them to the bed.
Find out more at https://iliketomakestuff.com


