3d Printer Enclosure / Electronics Workstation
Description
I made a 3d printer enclosure workbench!
For $50 off select Casper mattresses, go to https://www.casper.com/iltms and use promo code: iltms at checkout. Terms and conditions apply.
Subscribe to my channel: http://bit.ly/1k8msFr
Second Channel: http://bit.ly/iltms-2
BEHIND THE SCENES VIDEO
https://youtu.be/Uri4ig08TVo
MORE PROJECTS, POSTS AND EVENTS
http://www.iliketomakestuff.com
TOOLS & SUPPLIES (affiliate links):
https://kit.com/iliketomakestuff/my-woodworking-tools
https://kit.com/iliketomakestuff/shop-safety-gear
Twitch Stream Every Wednesday @ 11am EST: www.twitch.tv/iliketomakestuff
I WROTE A BOOK!!
http://www.iliketomakestuff.com/makingtime
Want to support ILTMS? Get exclusive content and more...
http://www.iliketomakestuff.com/patreon
BUY A SHIRT, STICKER, DIGITAL PLANS and MORE!!
http://www.iliketomakestuff.com/store
FOLLOW:
http://twitter.com/iliketomakestuf
http://www.twitch.tv/iliketomakestuff
http://instagram.com/iliketomakestuff
http://facebook.com/iltms
My family has had this massive stainless steel counter top for years. My grandfather built McDonald's restaurants for a living and this counter came from one of his remodels. Like all good family heirlooms, it has passed from person to person, but I finally took it in and used it to build a new electronics/3d printing workbench.
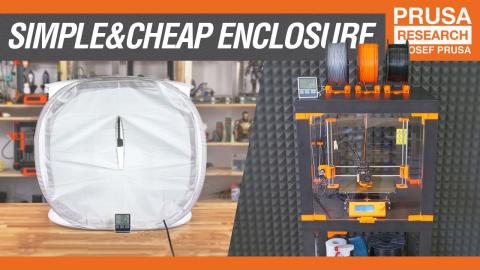
If you remember, I already made an electronics worktable in my old shop, but Josh now uses it as his desk. The counter top is big enough to span a large area in the office so it can do way more than just function as a work surface. We decided that the area under the table would become a 3d printer enclosure. An enclosure is used to house the printers and the filament to keep the temperature and the humidity consistent. Heat fluctuations can cause prints to warp on the print bed and can sometimes hurt the adhesion between print layers. Humidity negatively affects the filament, it can cause little pits and bubbles in the printed lines.
This project started with building a simple 2x4 base to support the table top. Before assembling the pieces, I cut two slots in the lower support and the two front sides to accept some sliding acrylic doors. The board were then joined together with pocket screws and glue.
The top was about 12 feet long and needed to be cut down. Wanting a nice, crisp cut line, I clamped a scrap piece of steel to the top and used it as a guide for my grinder with a cut-off wheel. I was happily surprised with how nice the cut was, but it needed to be de-burred with a file.
This counter top had been sitting in an alley behind my brother's house for years. As you'd expect, it was covered in nastiness that would need to be cleaned off. Josh and I scraped, sanded, and polished the stainless steel to a beautiful shine worthy of an inspection from Ronald McDonald himself. We attached the top to the base with some screws and the workbench's structure was finished. The acrylic doors were cut to fit the slots and a hole was drilled in each panel to act as a door pull.
The design for this cabinet evolved several times during the build process. One of the features that made the cut, was a set of pull-out platforms that would hold the printers. Instead of rotating the printers to access the filament, the machines could slide forward to replace the spools. To organize all of my filament rolls, we made a shelf that sits inside the cabinet to keep the environmental conditions consistent inside the space. I lastly added a motion-activated set of LED lights for added ambiance and the project was completed.
This workbench is a great piece of multi-functional furniture. I was really happy to incorporate the stainless steel counter top that my grandfather salvaged and that we were able to make a dedicated space for my 3d printers. This project had a lot of design changes but I am really proud of the final result. If you liked this build, check out more projects of mine in the playlist above!


